I'm posting pictures of the inside of the GPT so you can see where to oil and how to adjust it. The GPT website also has a page of Q&A with videos to explain aspects of the product.
https://21stcenturybattingtees.com
Phone: 224.858.4159 Email:
[email protected]
The Pop Toss mfr provides a lifetime warranty on all worn or defective parts. You have PopToss for life.
You can easily get 10 years use out of your PopToss with regular maintenance.
To get to the parts needing oil, you need to disassemble the tubes (2). This is done by unscrewing the short extension tube, which is located in the middle (below the green collar), from the bottom tube. When you have fully unscrewed this part (the top tube stays with it), you will see the internal spring (3). Pull the extension tube & top tube off the spring and inside you will find the ball striker(4).
Now remove the spring (5) from the bottom tube. You need to clean the sides of the vacuum chamber, below the threads (6). You will see the rubber washers at the bottom of the chamber. These can be removed & cleaned as well.
Once cleaned, you will need to lightly oil the sides of the vacuum chamber (8) with new, clean motor oil. A small amount of oil on your fingers, used to coat the walls, is sufficient. Then replace the black washers in the bottom of the vacuum chamber.
Next, use a silicone lubricant (the mfr calls for Chemplex 862, which is expensive) to coat the two o-rings on the grey ball striker (7).
When you are done, reverse the process and assemble the GPT (1) as follows: Place the washers, then the spring, into the vacuum chamber of the bottom tube, place the grey ball striker on top of the spring (o-rings at the bottom) and slide the top tube down over the spring. Screw the short extension tube (along with the top tube) onto the bottom tube.
See Pic(2) - Be sure the foam ball shelf is at the low point of the ball cup to prevent the ball from falling off.
================================
Now, on to the Timer device. The brass knob is adjusted to determine how long the plunger remains cocked before it releases the pitched ball. When you press the ball striker down into the GPT with your bat, you are pressing it into the vacuum chamber and expelling the air out thru the exhaust valve. That valve then closes & holds a vacuum in the chamber.
Be careful when pressing the ball striker with your bat. You can damage the exhaust valve if you ram the striker to the bottom too violently. Just press the bat down with a long, consistent force so that it fully reaches the bottom and locks in place.
The Timer device, which is screwed into the side of the GPT near the bottom of the lower tube, is the control for allowing air back into the vacuum chamber. When the vacuum is sufficiently reduced, by getting enough air, the ball striker will be released (unlocked) & the spring will force the striker to fly upwards to strike the ball.
The Timer device has a center hole that allows air to flow into the vacuum chamber at a rate determined by the Timer Knob. When the knob is fully closed (fully turned clockwise), little or no air can enter the chamber. As you open the knob (turning it counter clockwise) the air is allowed into the chamber at a greater & greater rate. This is how you adjust the knob to get 10-12 seconds of delay from the cocking motion to the trigger of the ball striker. If too much air gets in the chamber quickly, the ball will be released TOO SOON - to compensate, close the Timer Knob by turning it slightly clockwise. Try again. Repeat as necessary to find the right spot for 10-12 seconds of delay (or the amount of time you prefer).

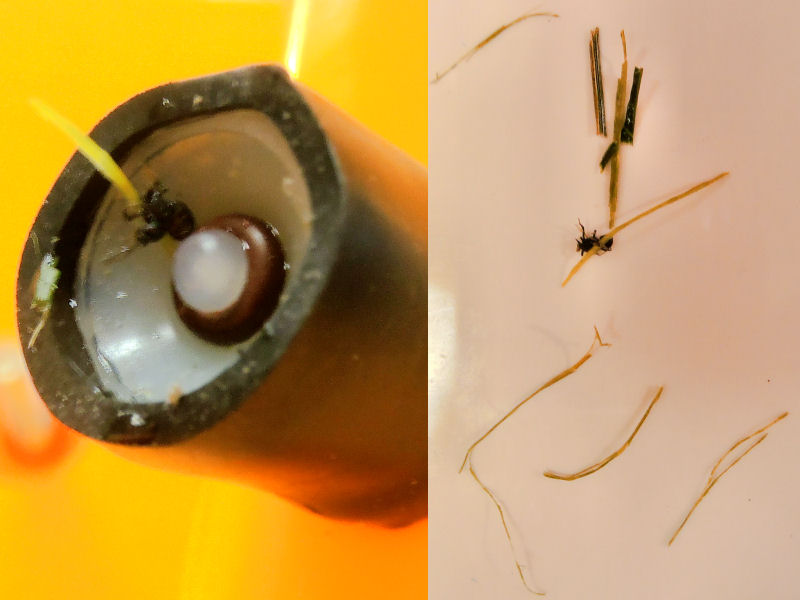
I removed two of the 4 o-rings to show, in this close up of the Timer device, that the internal core of the device has a hex design body that allows air to enter past the knob and flow into the vacuum chamber. I think the o-rings also help to control the rate of the incoming air for small, incremental adjustments.
================================
If, for some reason, you prefer that the GPT only throws the ball 10-12 feet, instead of throwing it 20-25 feet as it comes from the factory, you can remove the Short Extension Tube. This is located just below the green collar which is on the upper tube. Remove the extension and then screw the top tube into bottom tube until it is fully seated.
To make a smaller adjustment for a shorter distance throw, the Green Collar can be rotated to close over some or all of the holes in the yellow upper tube. Uncovering the holes allows a farther distance throw.
================================
In summary, here are the main points from some of the mfr videos:
Use motor oil on the inner walls of the vacuum chamber (yellow bottom tube).
(Later - this is not recommended - just use the silicone grease)
Use silicone lubricant (Chemplex 862) on the two O rings on the grey ball striker.
Change the air exhaust valve if it goes bad.
Occasionally request a new spring.
If absolutely necessary, SWAP IN A NEW TIMER VALVE (requested from the mfr)
to replace one that isn't working anymore.
More Q&A Information is available here:
https://21stcenturybattingtees.com/poptoss-batting-tee-troubleshooting-and-maintenance
%%%